Quick Color Match was developed by EIZO in cooperation with Adobe, Canon, and Epson. In close collaboration with leading global companies in the creative industry, EIZO developed a quick and easy software programme for printing photos on home inkjet printers.
Quick Color Match
Quick Color Match is a software that makes complex color management workflow much easier for home inkjet printers.

Adobe, Canon, Epson, and EIZO
United For a Powerful Solution

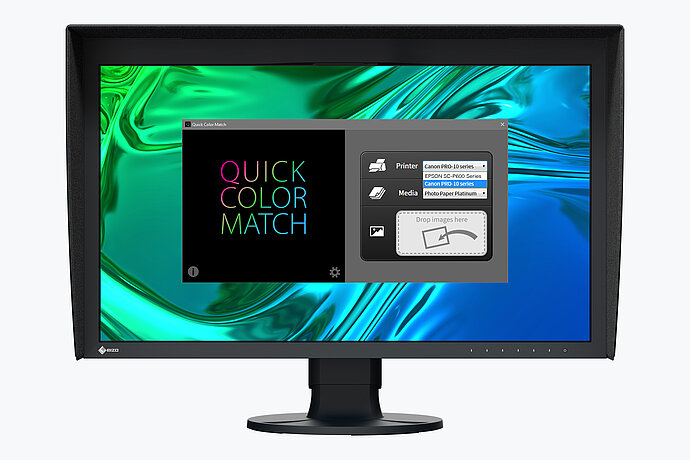
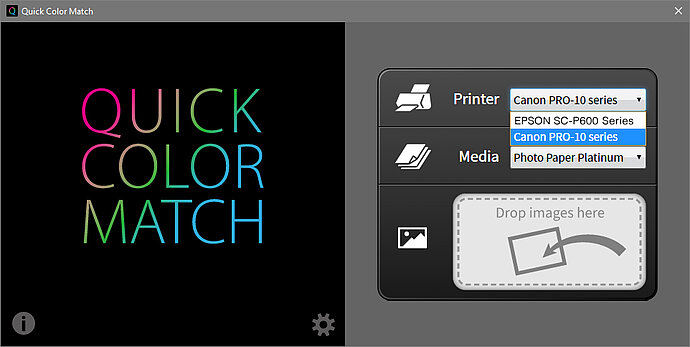
You can use Quick Color Match by dragging and dropping to make the necessary adjustments to monitor, software, and print settings. This allows you to quickly and easily match the monitor display and printout with each other.
With a Few Clicks:
Fast and Easy Colour Management
If the hardware and software settings are not matched, even the best computer hardware cannot display the correct colours. First the monitor settings are affected, then the colour settings of the image editing software, and finally the printer settings. If just one of these settings is incorrect, the monitor display often does not match the printout.
With Quick Color Match, all you need to do is select the paper and the software makes the necessary adjustments to the colour management settings, allowing you to quickly and easily match the monitor display and printout with each other.
Quick Color Match Makes These Colour Management Steps Easier
1. Monitor settings
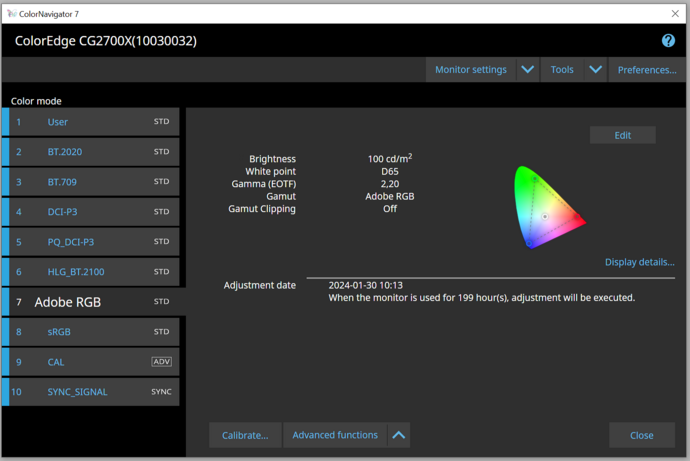
As soon as you drag and drop a photo onto Quick Color Match, the software automatically regulates the white balance, brightness, gamma, and gamut (Adobe RGB) of the ColorEdge monitor and creates a profile for these settings in the operating system.
2. Image editing software settings
Quick Color Match opens the image in the image editing programme (Photoshop CC is recommended) and activates the softproofing view for the connected printer and paper to be used. You can then see how the image looks on the selected paper.
3. Printer settings
Once the image has been edited, Quick Color Match transfers the photo to the Epson Print Layout print plug-in or Canon Print Studio Pro and selects the colour settings recommended by EIZO. Now all you have to do is decide on the size of the printout and the margin width.
4. Image evaluation
It is very important to have the right lighting when comparing the monitor display to the printout. We recommend using a light source with a defined light temperature (standard light) of 5,000 or 6,500 Kelvin. This value should also be set in the Quick Color Match settings as white balance of the monitor. This ensures that the printout is not affected.
EIZO ColorNavigator or Quick Color Match?
Which software is the right choice for your workflow?
ColorNavigator
ColorNavigator is a monitor adjustment software – a professional programme that gives you numerous configuration options for the hardware calibration of ColorEdge monitors. ColorNavigator allows you to make complex adjustments and is easy to use, even for beginners. The settings of the image editing software or the printer do not affect ColorNavigator.
Quick Color Match
Quick Color Match makes all the necessary adjustments to the colour management settings in the image editing workflow for home printing. It allows users – including the ones who are relatively new to colour management – to quickly and easily match the monitor display and printout with each other. Quick Color Match also offers a feature for regularly calibrating the monitor.


